This is an old revision of the document!
Table of Contents
Windows Installation
Prerequisites
Synchronet requires the following Microsoft Visual++ Run-time libraries installed (for x86):
Installation
Install from official releases
After downloading the Synchronet distribution file (e.g. http://synchro.net/Synchronet/sbbs319b.zip), you will need to extract the archive file that you downloaded into a temporary directory on your hard drive. You may need WinZip or an equivalent archive program to uncompress and extract the installation files.
09/20/2020  07:58 PM               531 FILE_ID.DIZ
09/15/2020  12:27 AM            64,761 install.rtf
09/20/2020  08:54 PM        12,150,851 setup.exe
Once you've extracted the installation files, go to the directory you extracted the compressed files to and run SETUP to start the installation.
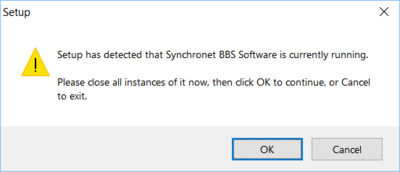
If you receive the above error dialog, that indicates that you are currently running an instance of Synchronet BBS software and need to stop that process before the installation can continue.
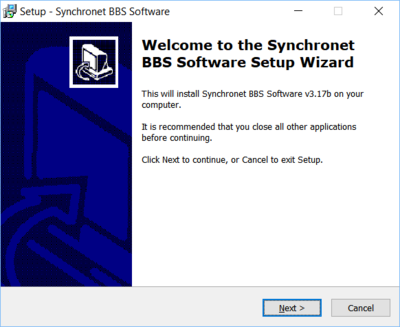
When the installer starts successfully, you will see the above welcome message.
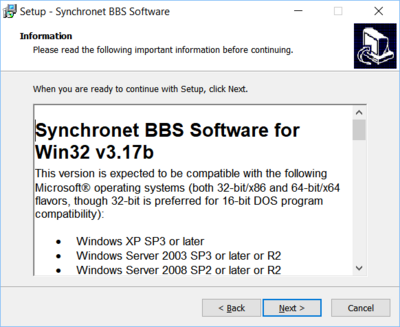
Clicking the “Next >” button will display the included install.rtf file.
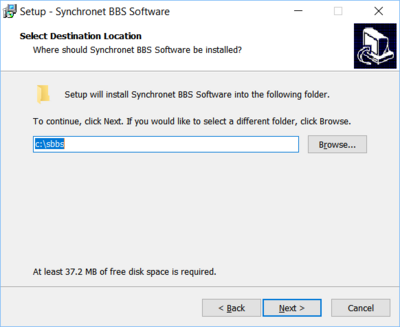
Clicking the “Next >” button will display a dialog which prompts you to choose an installation directory.
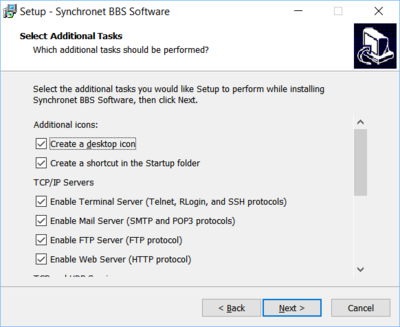
The default installation directory is recommended for most users. If you choose to change the installation directory, it is critical that you DO NOT use a path with long filenames or spaces or some 16-bit DOS utilities which require DOS-compatible 8.3 file and directory names will not function. It is recommended you use a directory named “SBBS” off of the root directory on one of your hard drives (e.g. C:\SBBS).
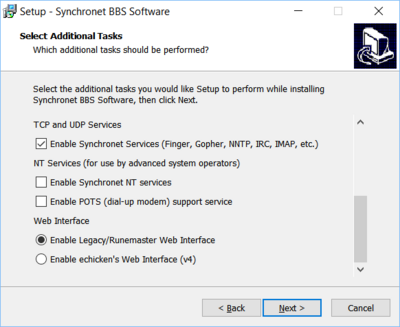
After completing your selections...
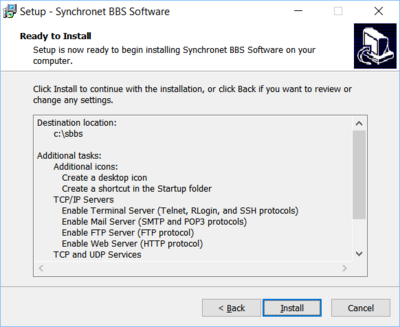
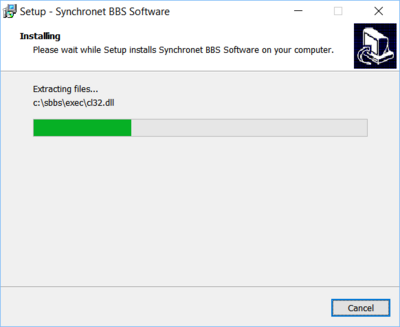
Clicking the “Install” button will start the installation process.
When the installation process is completed you may find a new Icon on your Desktop and/or your Startup Folder in your Start Menu. If you do not want Synchronet to start automatically during boot, you may safely delete the Synchronet shortcut from your Windows Startup Folder.
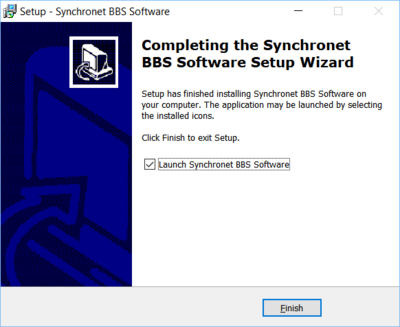
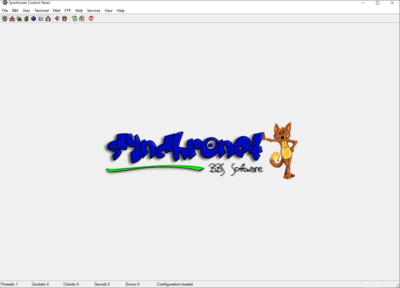
Clicking the “Finish” button will exit the setup/installation program and if the “Launch Synchronet...” checkbox was checked, the Synchronet Control Panel will be executed automatically.
Control Panel
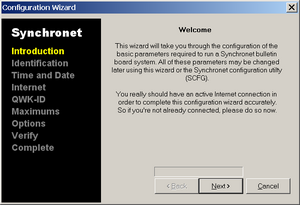
The Synchronet Control Panel and Configuration Wizard may automatically launch after installation.
See the Synchronet Control Panel page for more details and further steps, including configuration.
Windows Services
On NT-based operating systems (e.g. Windows 2000, XP, 2003, Vista, 2008, and Windows 7), you can alternatively run Synchronet in the background as a set of Windows Services (a.k.a. NT services). See the Synchronet Windows Services page for details.
Setup
Now that you've completed the installation, move on to the initial setup instructions.
